
Buggy Restoration Project by David Helland
We are back in gear so check out
the updates!
This page will document the full restoration of an original
Meyers Manx and will provide step-by-step assembly instructions
needed to put your own buggy together.
The Texas Starting Point
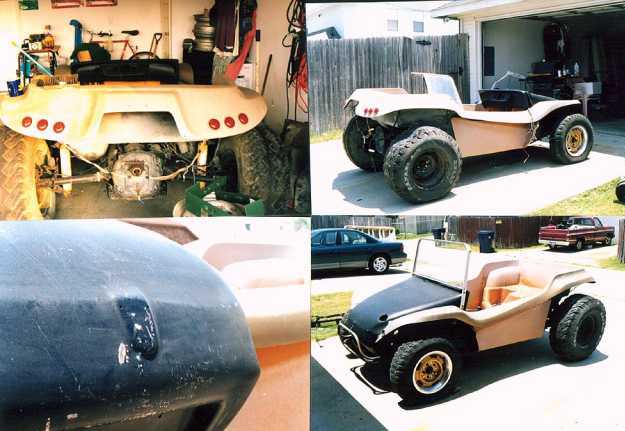
The starting point for this project is an original Meyers Manx
I that I bought in September 1998. The car was brought to my
attention by an email message about a dune buggy for sale in
Texas. After a few inquiries I found that the car had a genuine
Meyers Manx body (see nameplate) that
was in good shape (no cracks or holes) but in bad need of a paint
job. The car had a transmission but no engine, and the wheels and
tires were not much use. The frame (i.e., pan) was a total loss
and needed complete replacement. I had a free weekend, so I
hooked up a flat-bed trailer and drove to Texas and back (2500
miles) in three days to fetch the buggy. Here are the original
pictures of the car in Texas:
The Project Goal
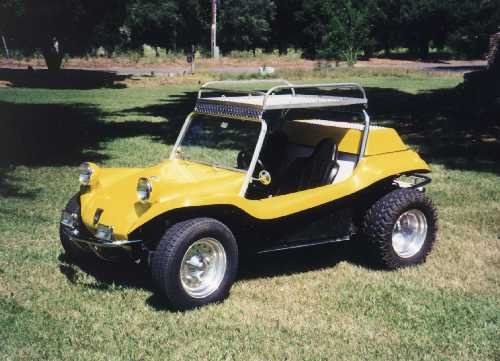
The finished car is to be a duplicate of my current Manx I
("New Yell'r") which has won several awards at Manx
Club outings. Check out my
specs at the Y.B.D.B.
web page.
The Body and Frame
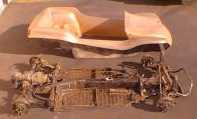
After sevaral months of neglect in my yard I finally got
started on the buggy at the beginning of 1999. I removed the body
from the old frame and trashed it after it disintegrated into
several rusty pieces. I was not concerned as I just happened to
have a shortened VW pan in my yard just waiting for a body. So
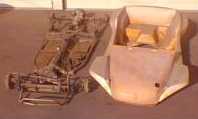
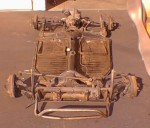
here are some pictures of the parts to be restored as they sat in
my California driveway...
Click on photos for larger view...
The Frame
Side View
The Steps to Complete Restoration
- Clean up replacement frame.
 1/15/99
- Weld reinforcement steel on frame tunnel
 1/15/99
- Weld frame seams to strengthen
them
 1/15/99
- Weld all holes in frame closed
 1/16/99
- Primer frame with anti-rust paint
 1/16/99
- Paint frame with rust-proof
black enamel
 1/26/99
- Paint frame bottom with under-coating
 1/27/99
- Clean and paint front suspension
 1/28/99
- Remove black paint from hood
 11/98
11/98
- Remove lights and snaps
 1/28/99
- Fiberglass over gas tank
filler hole and battery
box hole
 1/31/99
- Counter-sink all holes and start misc.
bodywork
 2/25/99
- Fill all holes with body filler
 2/25/99
- Sand car
- Primer car with polyester primer
- Sand primer
- Deliver to paint shop
3. The Gas Tank
- Cut filler neck off
- Weld hole shut
- Cut new filler hole in tank center
- Weld on new filler neck
- Install tank in body
- Cut hole in hood for filler
- Install filler cap assembly
5. The Body Installation
- Set body on frame
- Align frame holes
- Mark body
- Drill holes
- Bolt to frame
- Install rear shock supports
- Install front body supports
6. The Hood Installation
- Set hood on body
- Check alignment
- Mark body
- Remove hood
- Drill holes
- Install backing nuts
- Install wiring in dash
- Assemble dash to hood
- Install hood on body
- Install steering shaft
- Install steering wheel
7. The Seats
- Purchase Beard Seats
- Buy old seat frames
- Follow tech tip to buld seat frames
- Straighten seat rails on frame
- Attach frames to seats
- Install seats
8. The Dash
- Purchase new dash
- Acquire instruments, switches, indicators
- Layout locatons on dash
- Cut holes
- Install instruments, switches, indicators
- Mount fuse block
- Mount wiper assembly
9. The Transmission
- An engine is donated!
 7/3/99
- Clean engine
- Remove sheet metal
- Remove heads & cylinders
- Test rod clearance
- Replace bearins if required
- Install new cylinders
- Install new heads
- Install dog house cooler
- Install chrome sheet metal
- Buy new exhaust
- Aluminum coat (metal spray) exhaust
- Install exhaust
- Install carb & generator
- Install engine
- Install fuel line
- Install accelerator cable
10. The Wheels & Tires
- Purchase Aluminum rims
- Purchase tires
- Install tires and balance
- Purchase wheel center covers
- Mount wheels on car
- Align front steering
- The roll bar and bumper are
purchased from the Manxclub!
 7/3/99
- Purchase Roll Bar Steel
- Have Roll Bar bent to Manx pattern
- Weld on brackets
- Have Roll Bar chromed
- Install Roll Bar
- Purchase front bumper
- Weld on light brackets
- Have bumper chromed
- Install bumper
Last updated Sun July 3
21:25:00 PST 1999 .


